mySQL 5.7: Installation Instructions (Windows)
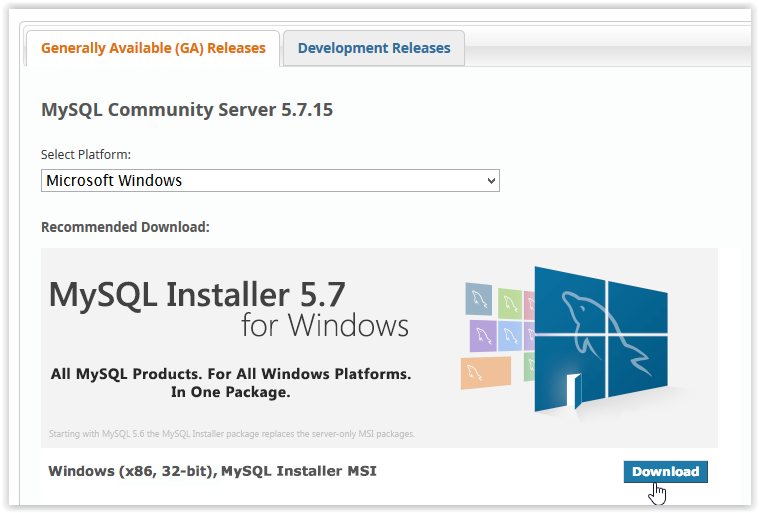
1. Go on to mySQL website to download.
2. Click the Download button under MySQL Installer 5.7 for Windows.
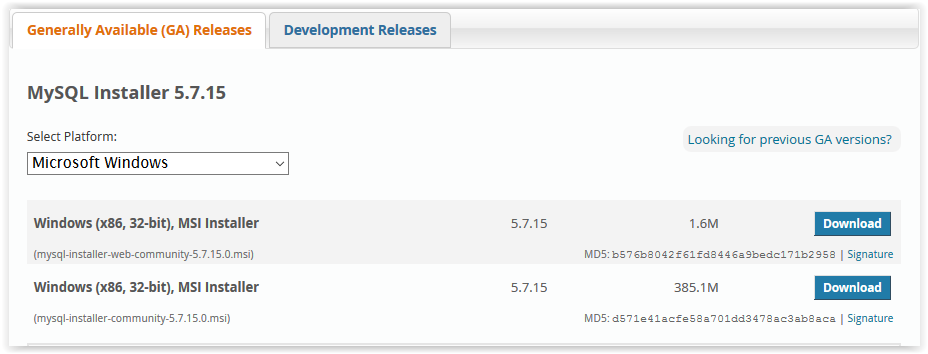
3. After clicking Download, choose which Installer to use by clicking Download.
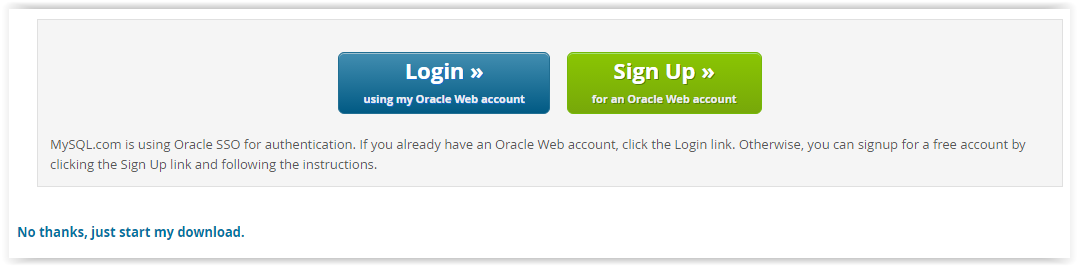
4. In order to download, you must click Login, Sign Up, or click No thanks, just start my download.
5. If prompted, select Yes to allow changes to the computer.
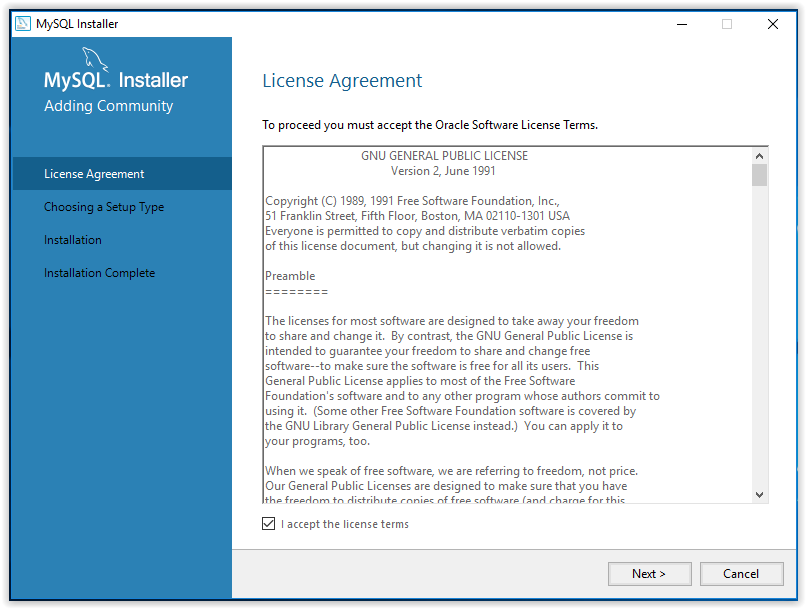
6. After downloading, check the I accept box under the License Agreement and click Next.
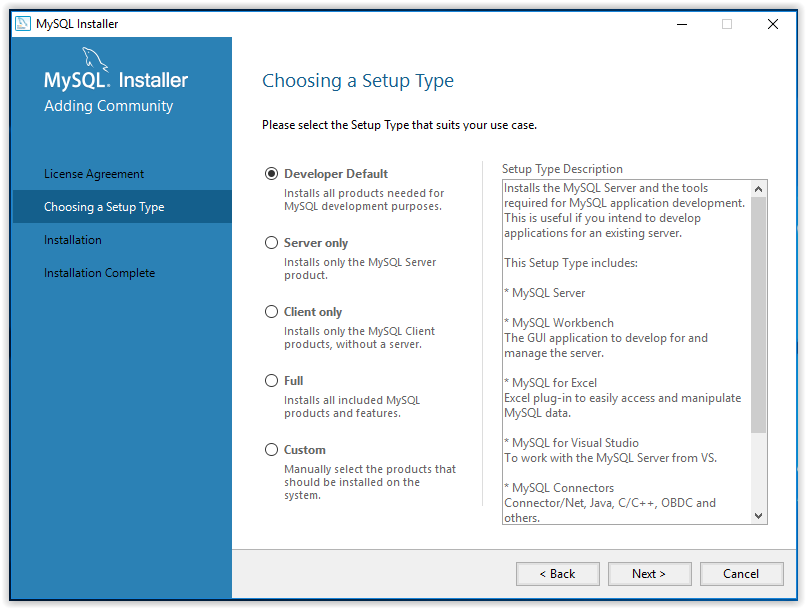
7. Select the Setup Type then click Next.
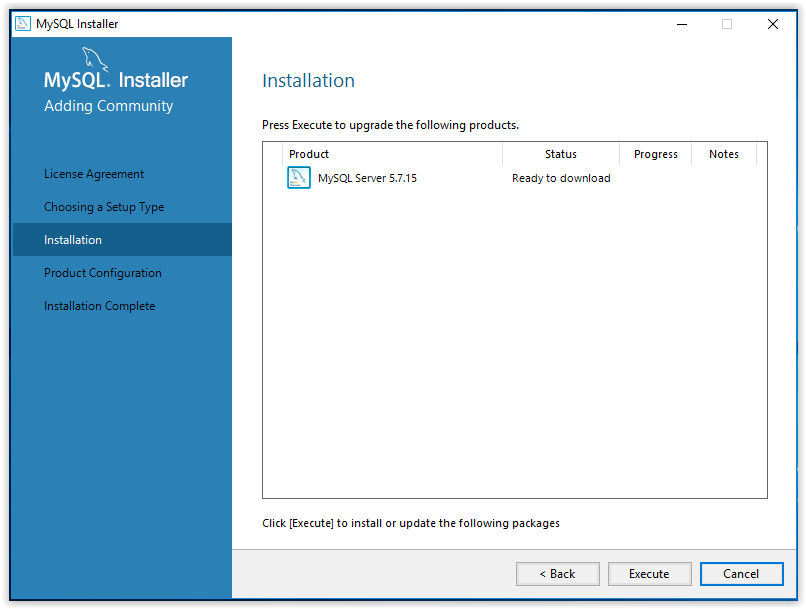
8. To begin the installation, press Execute.
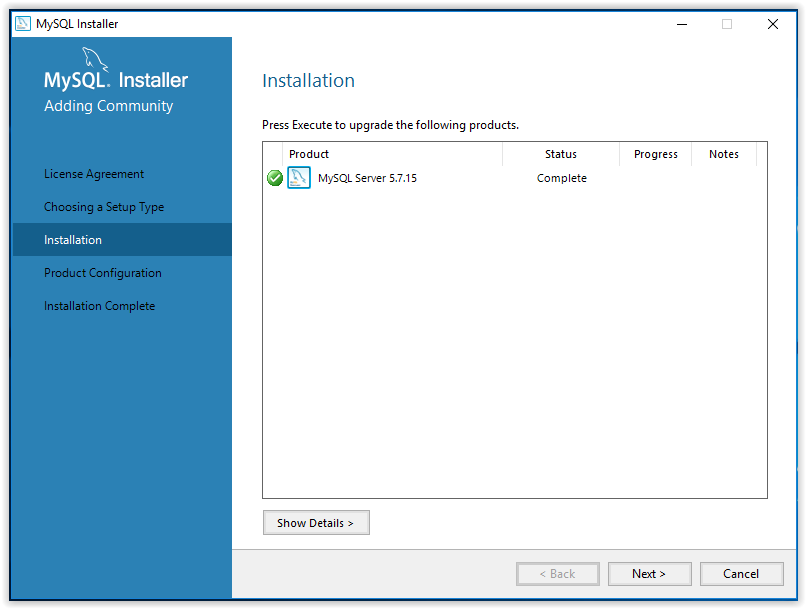
9. When the installation is complete, click Next.
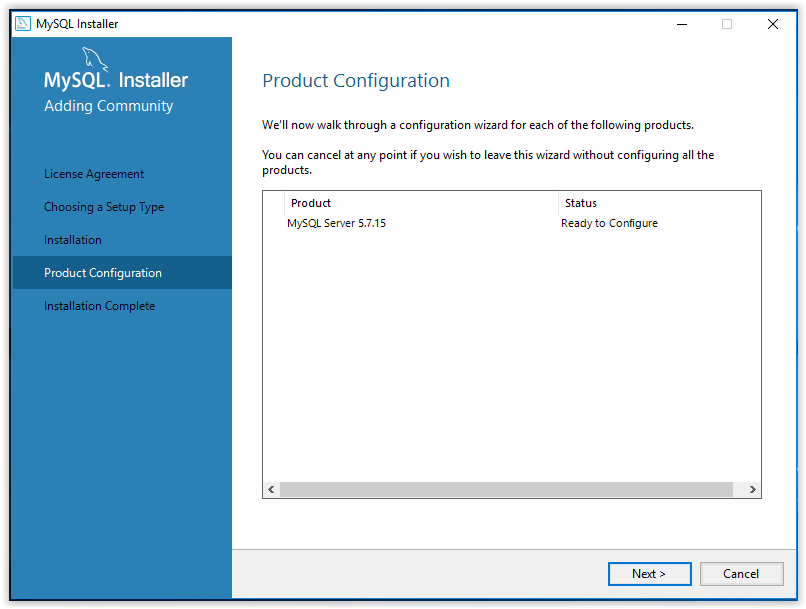
10. A walk-through product configuration will then appear. Click Next to begin.

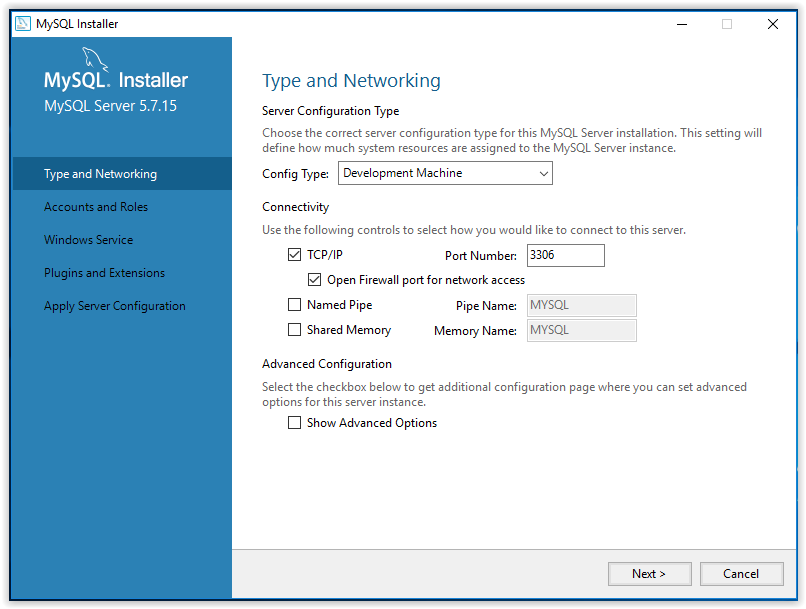
11. First, select the Server Configuration Type then click Next.
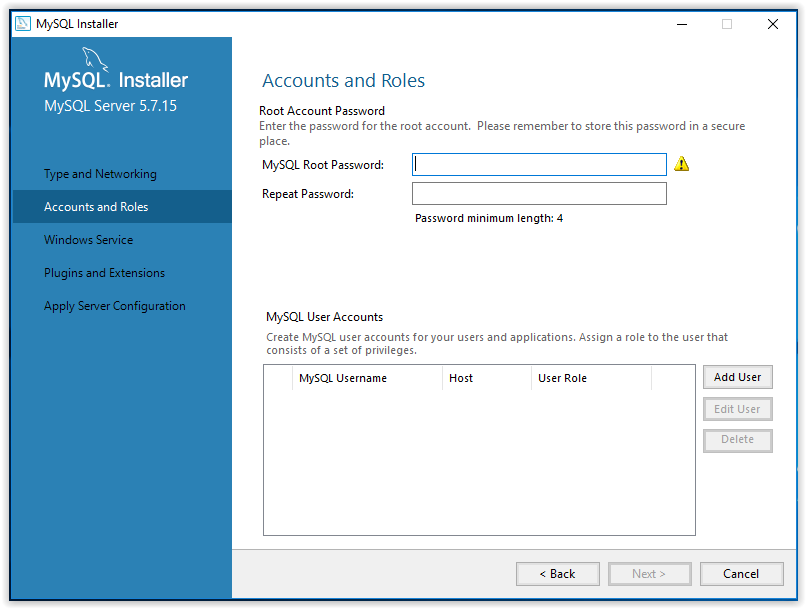
12. Set an account password, then click Next.
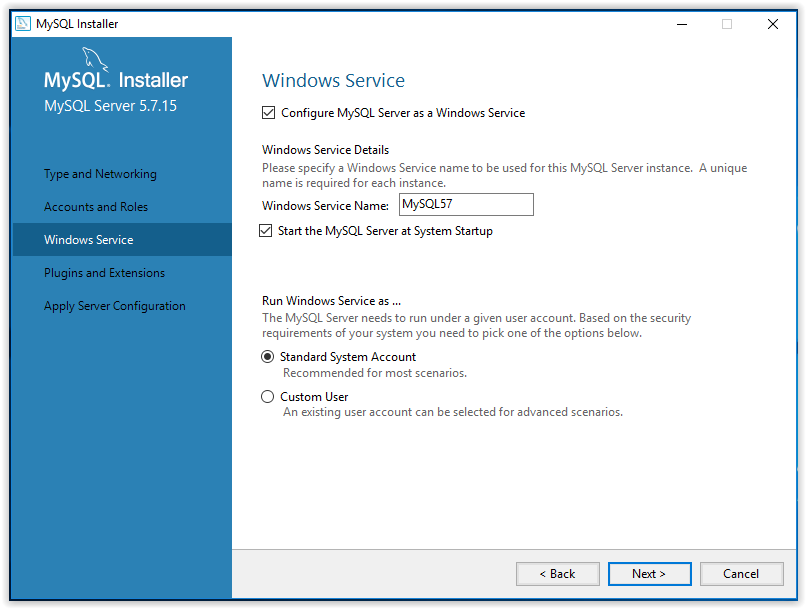
13. Choose a name for the installed program, choose a user account under which the program will be used, then click Next.
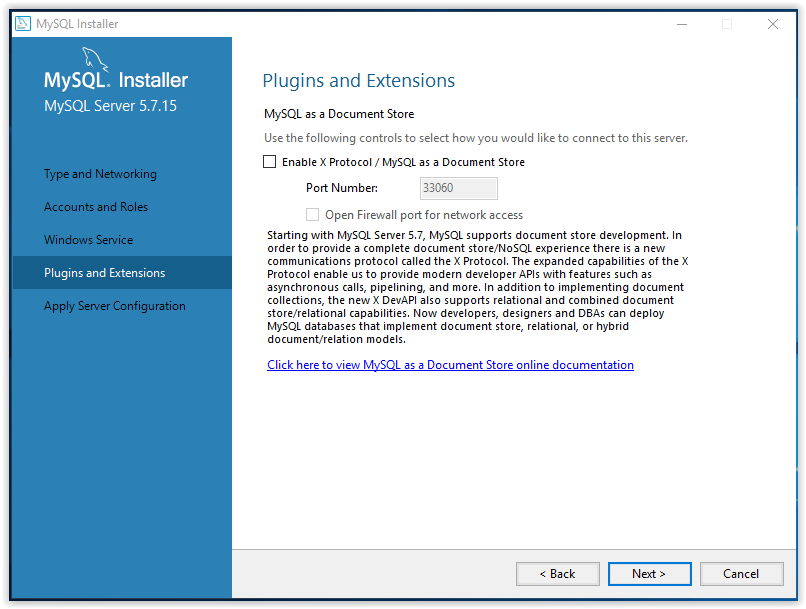
14. Use the Plugins and Extensions window to choose how the program will connect to the server, then click Next.
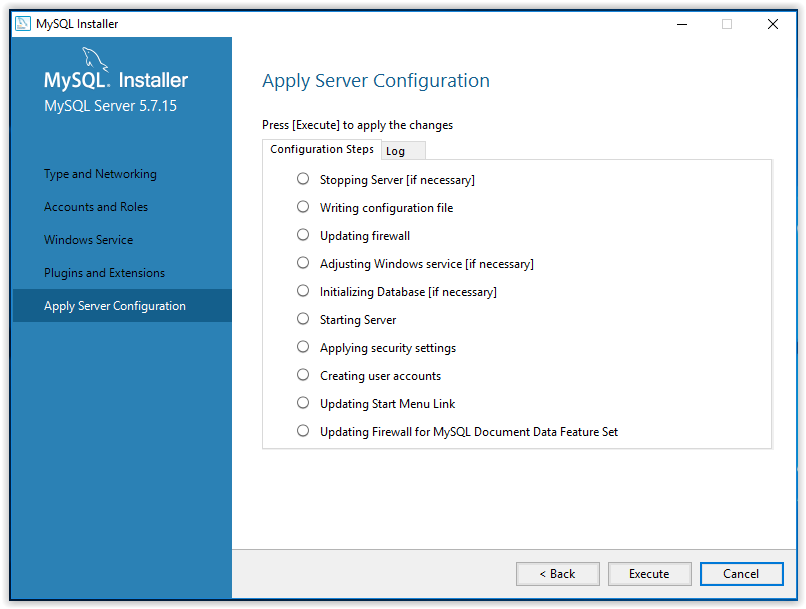
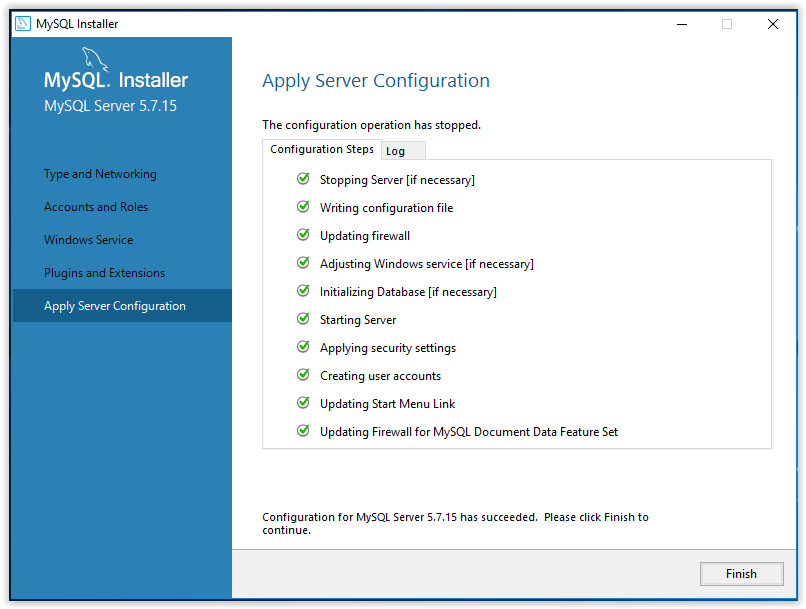
15. To apply the chosen settings, click Execute in the Apply Server Configuration window.
16. When the configuration is complete, click Finish.
17. The program will then go back to the Product Configuration screen. Click Next.
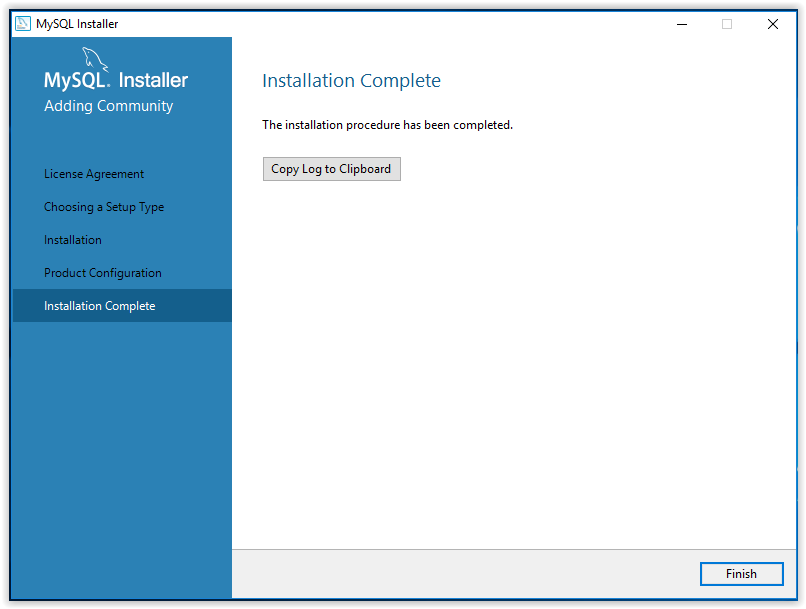
18. Installation is now complete. Click Copy Log to Clipboard to see the ReadMe file, or click Finish.
Referenced from: mySQL