Outlook 2016 (Mac): Set Up Calendars
To Set Up Your Calendar in Outlook 2016 (Mac):
1. Open Outlook 2016.
2. Switch to the Calendar button in the bottom left-hand corner of the screen.
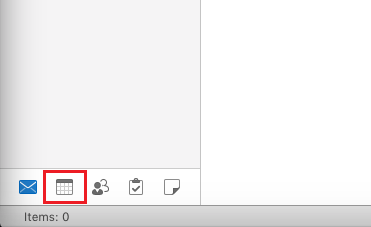
3. Your calendars will appear.
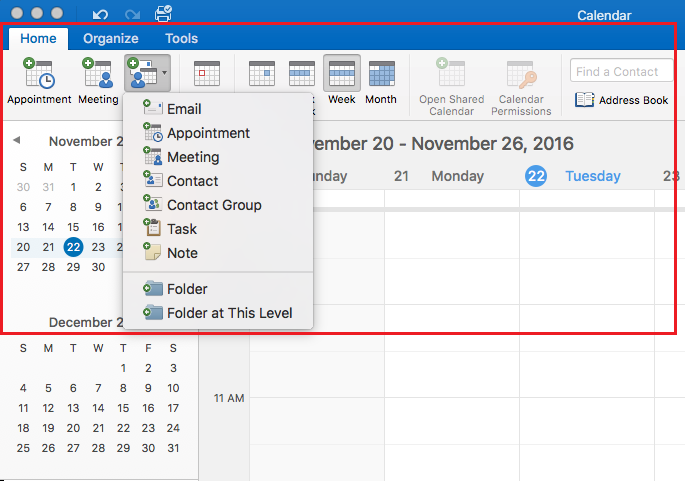
On the Home tab, you create new Appointments, Meetings, or New Items. You can also change your View, Open Shared Calendars, and update Calendar Permissions.
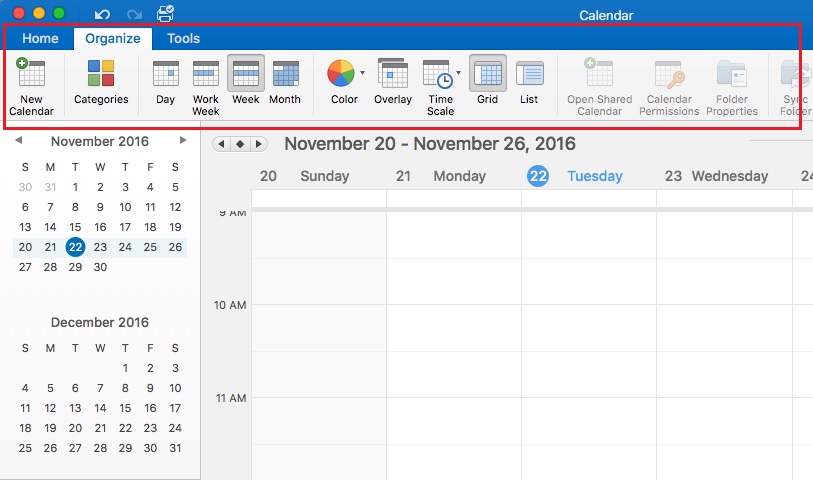
4. On the Organize tab, you can create a New Calendar, add Categories, and update the Color, Overlay, Time Scale, Overlay, or List.
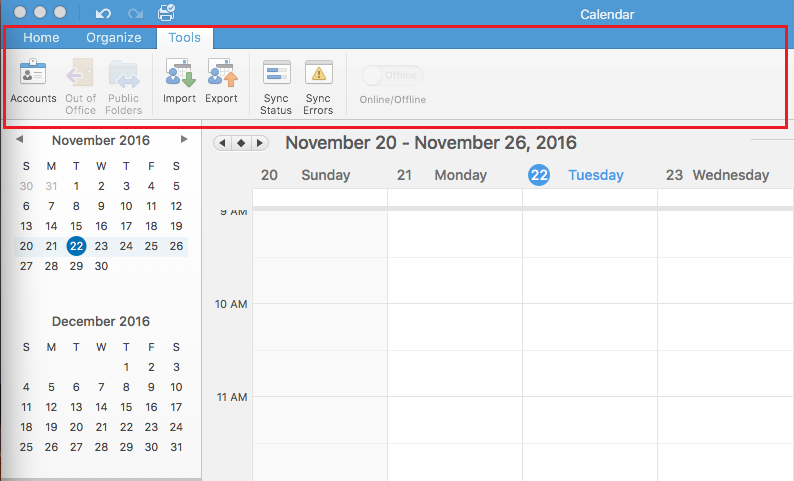
5. On the Tools tab, you can access the options to edit Accounts, Import / Export, and Sync.
Referenced from: Microsoft
19542
9/24/2025 7:49:14 AM